One man’s trash is another man’s treasure: A Coffee Table Idea
A few weeks ago, during my lunch break, I decided to take a walk and popped into a local thrift store. I wandered through the aisles, not really sure what I was looking for. Nestled in the corner of the store, surrounded by broken chairs and tables, my eye was caught by a wooden box – which I later found out that was a toy storage box. I was told it had been brought in without a lid, had a few scuff marks, and looked like it had seen plenty of playroom fun. It was priced at only R150. I thought, “what a steal” – and then went ahead and bought it


The next day, I began working on the project by first removing the wooden strips that were badly worn out. I then gave the box a thorough cleaning using a mixture of one cup of vinegar, one cup of warm water, and one tablespoon of bicarbonate of soda. This helped clean the surface and remove the unpleasant smell. Using a sponge, I lightly scrubbed the wood, wiped it with a damp cloth, and then left the box out in the sun for a few hours to dry completely. Once it was fully dry, I sanded it down thoroughly using 100-grit sandpaper.

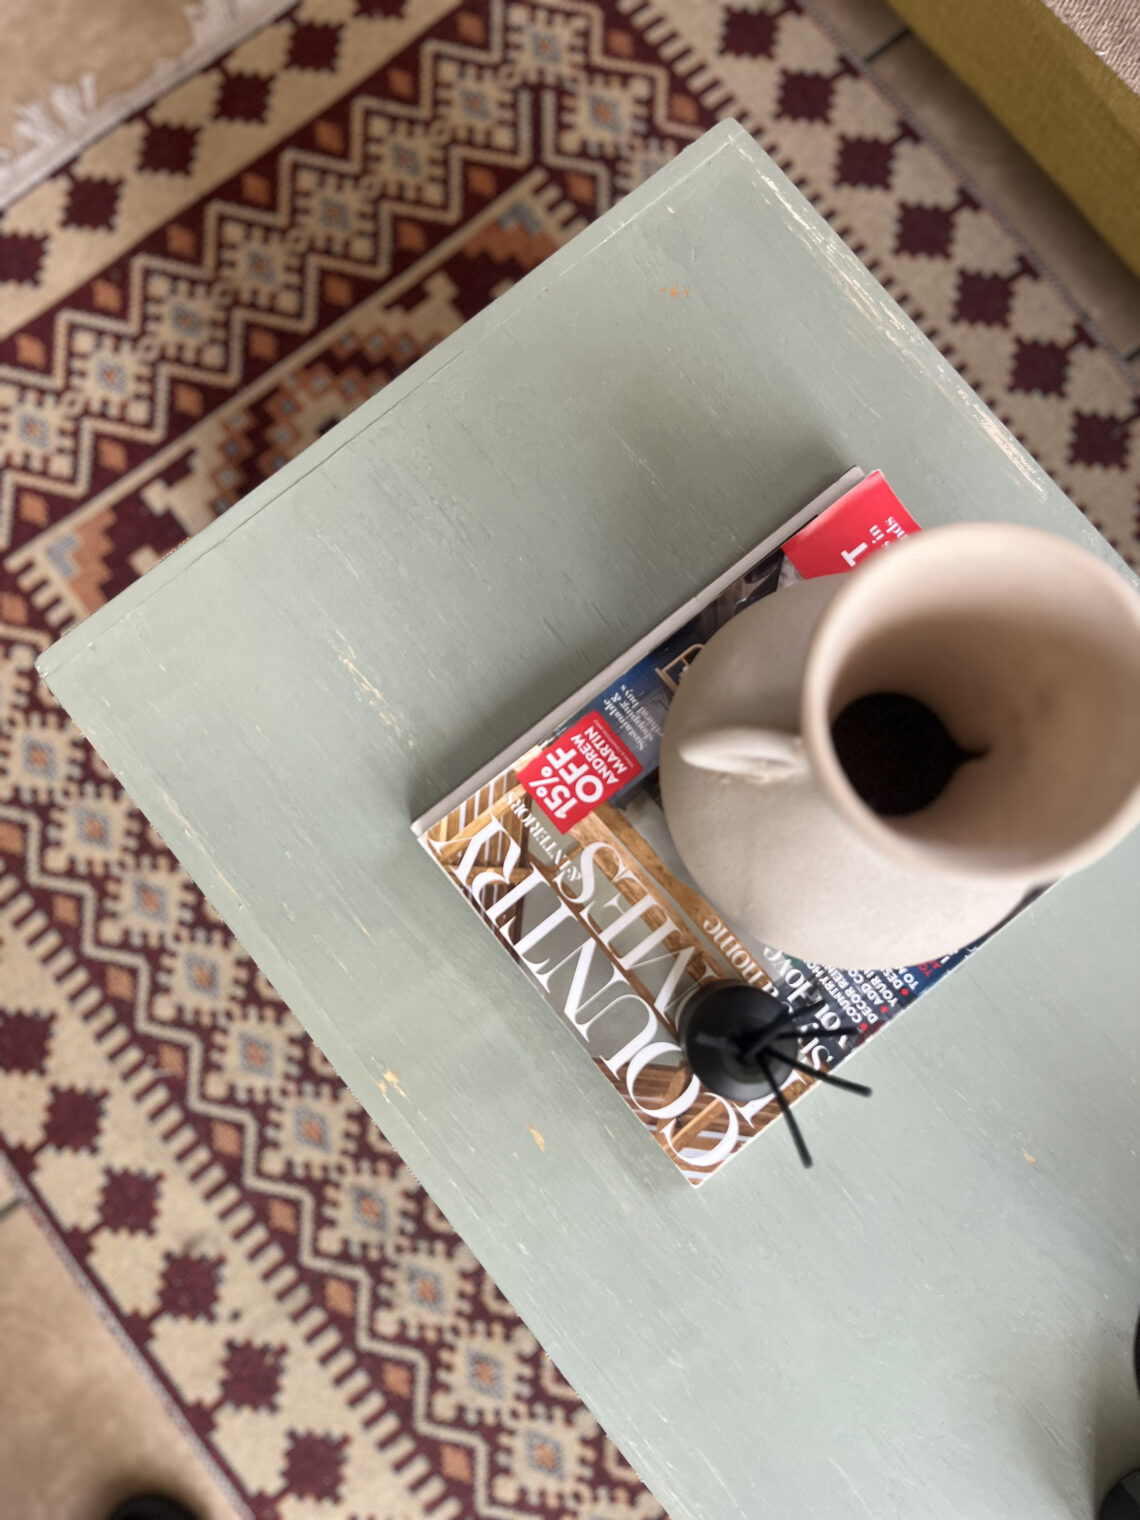
To turn it into something useful, I built a new wooden lid using a piece of plywood and added pine cover strips along the edges to create a top that fits the box perfectly. I then finished it off with a fresh coat of muted shade of green paint, which I lightly sanded to give it a rustic feel. I replaced the worn-out strips I had removed earlier with new ones and added four small caster wheels underneath, making it easy to roll around. I also swapped out the old handles for modern ones. Suddenly, it wasn’t just an old toy box anymore, it had become a mobile coffee table with built-in storage. Now it sits in my living room, looking right at home and quietly holding books and a few other bits and pieces.

.

Working on this piece- small as it was- has been deeply meaningful. I love that I did not over-design it, I just worked with what was already available. This is some of work I want to do more of and share with you here.
For those who are curious or want to try something similar, here are the tools and materials used in this project: a measuring tape, a handsaw, a drill, and a paintbrush. The materials included a 450mm x 810mm piece of 20mm plywood, 5 meters of pine strip (cut into 8 pieces for the edges), screws, four small caster wheel, Olivia’s Pale Tjhoko paint, wood filler, wood glue, new handles and a simple mix made from vinegar, warm water and bicarbonate of soda
So this marks the first of many project stories on this blog. Some will be big builds, others will be small flips like this one. Either way, it’s all about making, fixing, and enjoying the process.
If you have ever rescued an old piece needing some love and turned it into something useful, I would love to hear your story. Please leave me a comment or tag me on social media @createwith_mo. I am always keen to connect with fellow makers
If you are just curious or itching to try your first flip, consider this your sign. Start small. Look around , something old, dusty, or forgotten might just be waiting for a second chance. You don’t need fancy tools or a big budget, just a bit of time and a willingness to figure things out as you go.
Until next time, let’s keep on creating and giving those old pieces a new purpose, one project at a time.
– Mo


You May Also Like